How To Create A Fun Sunflower Necklace
6/16/2017
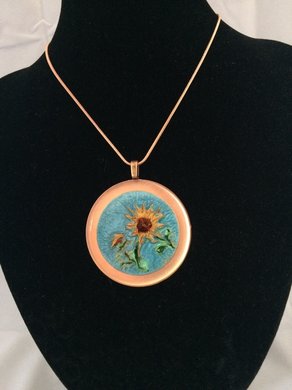
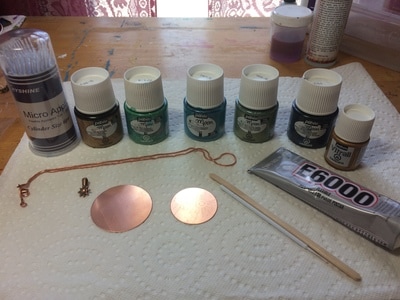
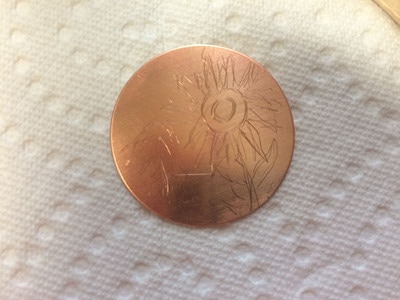
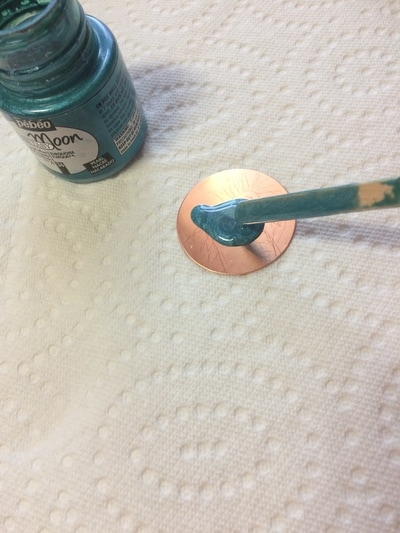
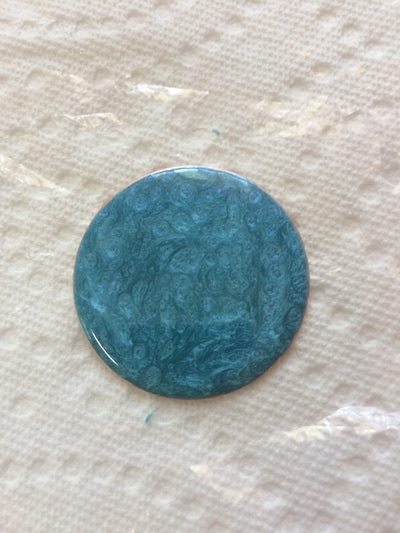
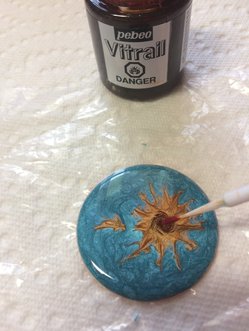
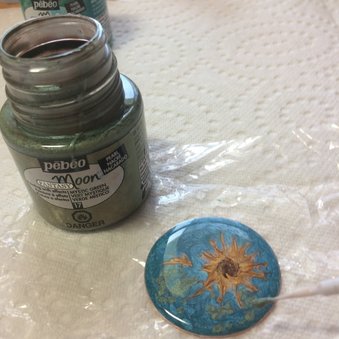
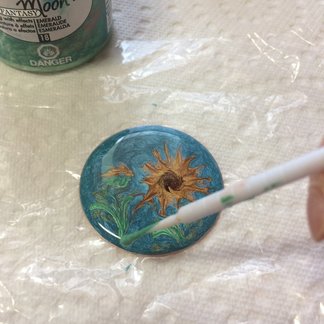
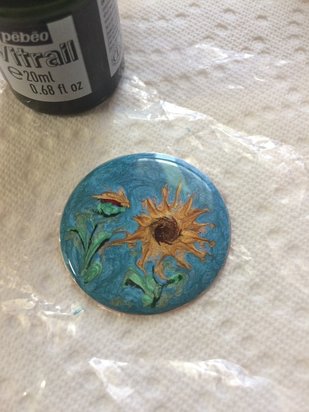
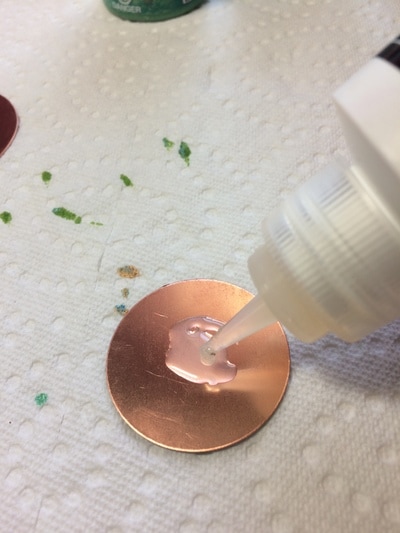
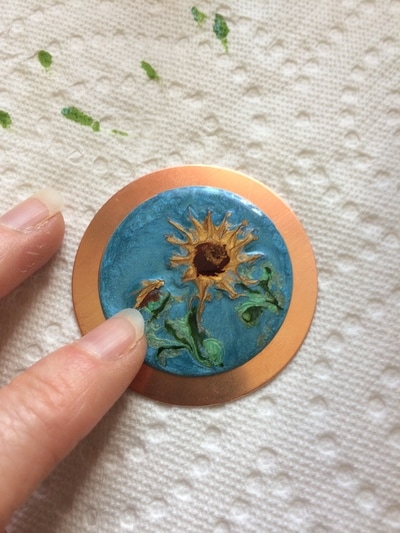
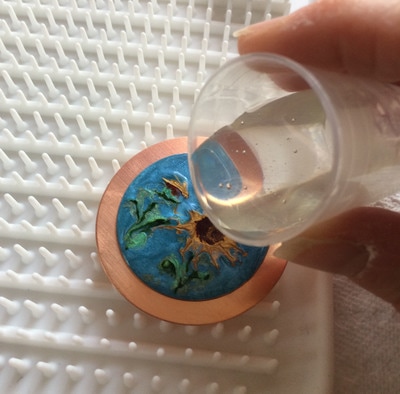
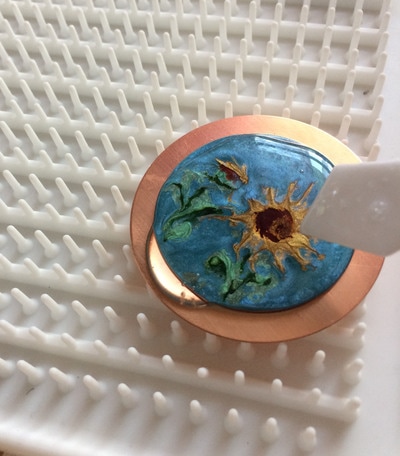
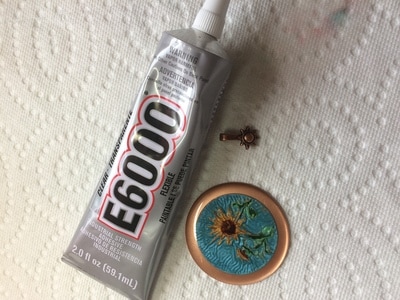
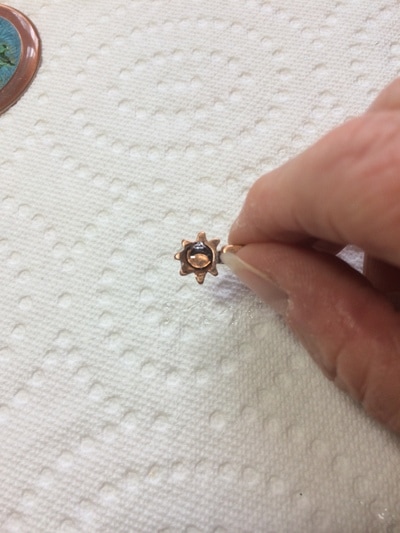
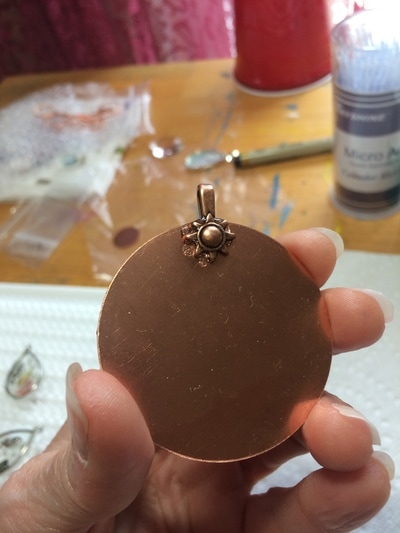
I have been a painter for over 20 years working with various mediums such as oils, watercolors, and inks. I love color! When I turned to jewelry making with metal blanks, I found myself in a dilemma. I could add color to my metal with enamel. The only problem is that enameling calls for fire and I'm nervous around fire. After some research, I found a way to add color to my jewelry with a special paint that is conducive to metal. The paints are Pebeo Fantasy paints. Fantasy Moon Paints create textured, hammered and pearlescent effects. When first applied, the paint seems to take on a life of its own, moving and swirling on the surface.. Vitrail paints have a transparent quality similar to stained glass. When the two paints are combined, magic happens. The metal blanks I choose to use are from Beaducation. The blanks are quality and the delivery is fast! I also like the fact that they categorize their blanks according to type and shape. I could find what I wanted quickly without searching for an hour. So, with Pebeo Fantasy paint as my medium, and Beaducation copper blanks as my canvas, I created a sunflower necklace. Sunflowers are one of the biggest, happiest flowers on the planet! Combine that with jewelry and you have a fun necklace that will not only lift your spirits, but also the spirits of everyone who sees it! Here’s how to do it: First, a list of materials: 1 Beaducation copper circle blank 1.91” in diameter 1 Beaducation copper circle blank 1.5” in diameter Fantasy Moon Paints - Emerald, Turquoise, Mystic Green Vitrail Paints - gold, orange, green apple wooden popsicle stick micro applicator E6000 glue Ice resin 1 copper bail 1 copper plated snake chain - 18” The Process: 1. I took the 1..5 copper blank and sketched a sunflower on it with a pencil. This was just to give me an idea in my mind of where to lay the paint. 2. I stirred the Fantasy Moon turquoise paint with a popsicle stick. It is important to stir the paint for two minutes or so to get the best results. Fantasy paint is thick. Then I used a popsicle stick to spread it onto the 1.5 copper blank until the blank was covered evenly. Look at that beautiful marbled effect! 3. Next came the Fantasy Moon gold paint. I used a micro applicator, otherwise known as a dental brush, to drop the gold paint into the turquoise. I guided the paint gently from the center outward to make the petals. 4. Using Vitrail Orange paint, I created the head of the sunflower, dropping the paint in a bit at a time and guiding it in a circular fashion. 5. I created the first layer of leaves and stems with Fantasy Moon Mystic Green, again dropping the paint in and guiding it with the micro applicator. 6. I wanted to brighten the leaves and stems, so I added Fantasy Moon Emerald paint. 7. To high light the painting, I used Vitrail Orange on the sunflower, and Vitrail Green Apple on the leaves and stems. At that point, the painting on the 1.5" copper blank was done! 8. Now it was time for the other 1.91” copper blank! This blank was going to serve as a frame for the painted blank. I used Sun And Moon craft glue as an adhesive to keep the painted blank in place while I poured the resin. 9. After 20 minutes or so, the glue was dry enough to pour the resin. I use ice resin, which I like because of its ease and quality. I poured one part resin to one part hardener into a small measuring cup. The mixture has to be stirred constantly for two minutes until clear. Resin usually comes with plastic applicators with which to stir. The copper blanks were placed on a rubber doming tray which is great for allowing extra resin to run off the blanks and not pool onto the piece. Then, I poured the resin onto the middle of the painted blank and moved the resin outward with the applicator until it completely covered the surfaces of both blanks. I left the resin to dry for 12 hours, covering the piece with a plastic cup to prevent any dust from settling on it. 10. After the piece dried, I attached a copper bail to the back using E6000 glue which is an industrial strength adhesive. I let it dry for 48 hours. When the piece was dry, I attached it to an 18" copper plated snake chain and it was ready to wear!
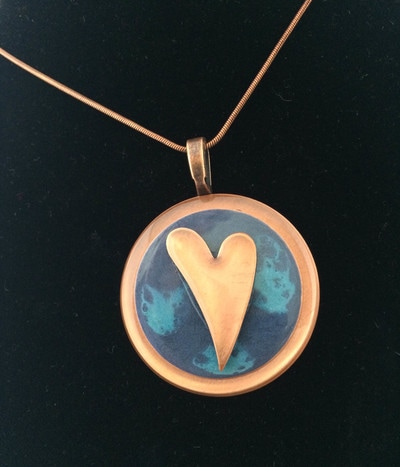
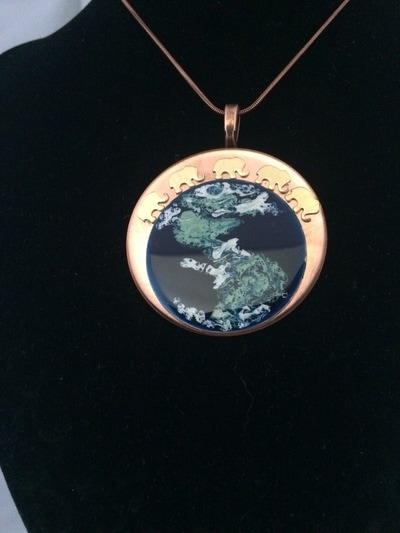
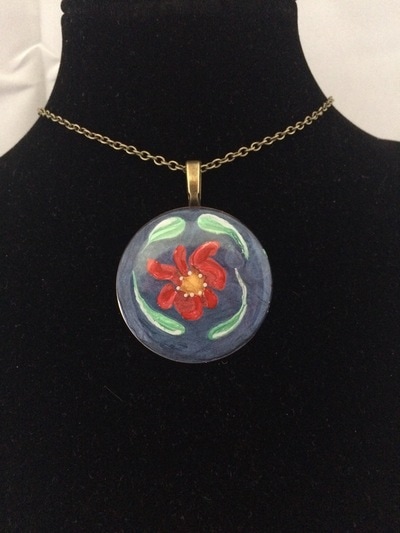
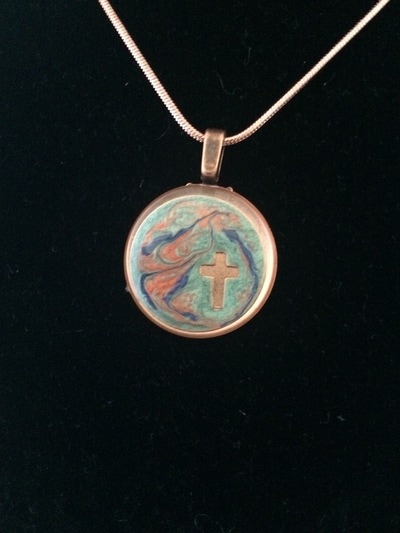
Below are some other necklaces I created using Beaducation metal blanks and Pebeo Fantasy paints!
5 Comments
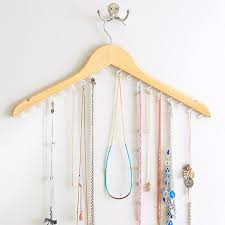
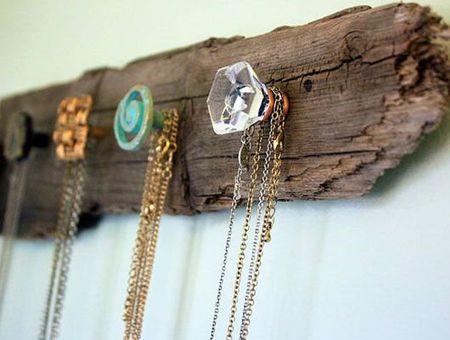
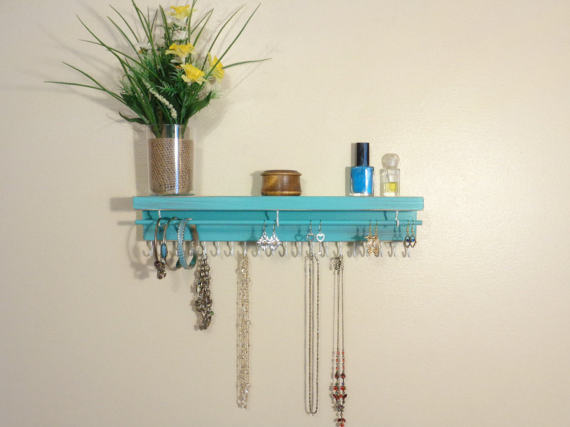
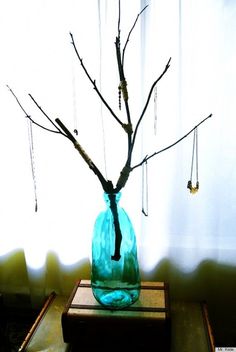 If you're like me, you pop out of bed, shower, get dressed and look for some jewelry that will match your outfit. There's nothing worse than finding your favorite necklace all knotted and tangled up in the bottom of your jewelry box. You try to untangle it but realize you'll never get it done by the time you have to leave for work. Grrrr.. what's a fashionista to do? Here are some creative solutions I found on Pinterest: On the cheap? Find some pretty tree branches from outdoors and put them in a fun or quirky vase. Hang your necklaces from the twigs. Or put screws in the bottom of a wooden clothes hanger and hang them on there. Have a few bucks? Buy some decorative knobs from the store and screw them into a an old, wooden board. Willing to spend around $30 or so? Buy a pretty, handmade shelf like the one below from BriarRidgeCreation on Etsy. Throw a plant or a few trinkets on top of the shelf and hang your necklaces below! Next time I'll show you how I organize my necklaces! Until then!
|
Archives
September 2018
|
 RSS Feed
